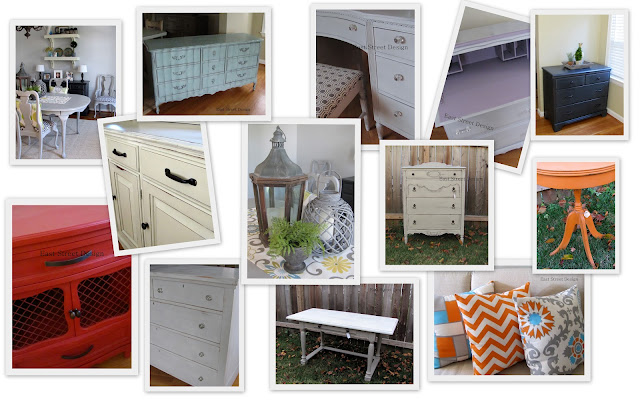
I always love when I come across an inspiration board. You see them on Pinterest a ton for fashion. Pulling together the outfit - with the shoes, hand bag and accessories. Since fashion is not my thing, I am often surprised at how much I love outfits that I would never think to pull together. And this is why inspiration boards are going to be a huge help for me. My typical client is looking for my advice because decorating is usually not their thing. Whether, I am called in to paint a piece of furniture or re-design a whole space, I always need to get my vision across to my client. And now things just got a whole lot easier! I posted how excited I was to learn this new task on ESD's facebook page. Many of you contacted me with "how to" questions. I am hoping this will help.
I looked into figuring this out over a year ago and everything I found pointed me in the direction of photoshop. I am not well versed in photoshop. So, I turned my nose up and moved on. I use Picasa to edit my photo's and download them onto my blog. Picasa is a free photo editing tool by Google. It is super easy to use! You can download it here very easily if you don't already have it.
~The first thing you want to do is save any image you want on your board to your hard drive.
~Next, you want to open your Picasa account and save the images onto Picasa. When you <left click> on the image from your hard drive it will enlarge it. Then you <right click> and it will give you the option to <Edit in Picasa>.
~After clicking <Edit in Picasa> it will automatically load the image into Picasa. When images come from your hard drive they default into a folder.
~Please note, you can have multiple folders if you use Picasa to load from your camera as well. However, to put together a board they must all be in the same folder. You can't pull images from multiple folders at one time.
~ Now that the images are saved into Picasa - you are ready to make your board. I call it an inspiration board but Picasa calls it a collage.
~Select the folder with the images you want to use. It will then pull all the images up at one time.
~You then hold down your <Ctrl> key while you click on each image you want to use.
~Now that you have selected the images, click on the < create photo collage> icon at the top or bottom of the picture.
~It will put them all together onto the a board. You can then move them around, layer them, turn them, enlarge or make smaller. When you have it just as you want you will click on the <Create Collage> and it will save it and take the board to the editing tool.
~The last step is to do any editing using the Picasa editing tools. You can crop it, add text on the board along with mulitple other tools. After you are done with that it should automatically be saved onto your Collage folder.
~And your done....YAY!!! You can email it out or into your drop box to go onto a blog.
It really is super easy!! Can't believe it was right in front of me all this time.
The above board was used to help a client determine which kind of slipcover she liked for her dining room chairs. The existing seats are fabric covered and I suggested white slip covers that could be easily removed and bleached(kid friendly).
The below board was used to help choose fabric and accessories for a master bedroom.
Have fun using this new found tool! And enjoy your weekend!
Thanks!
Keri
Keri


No comments:
Post a Comment